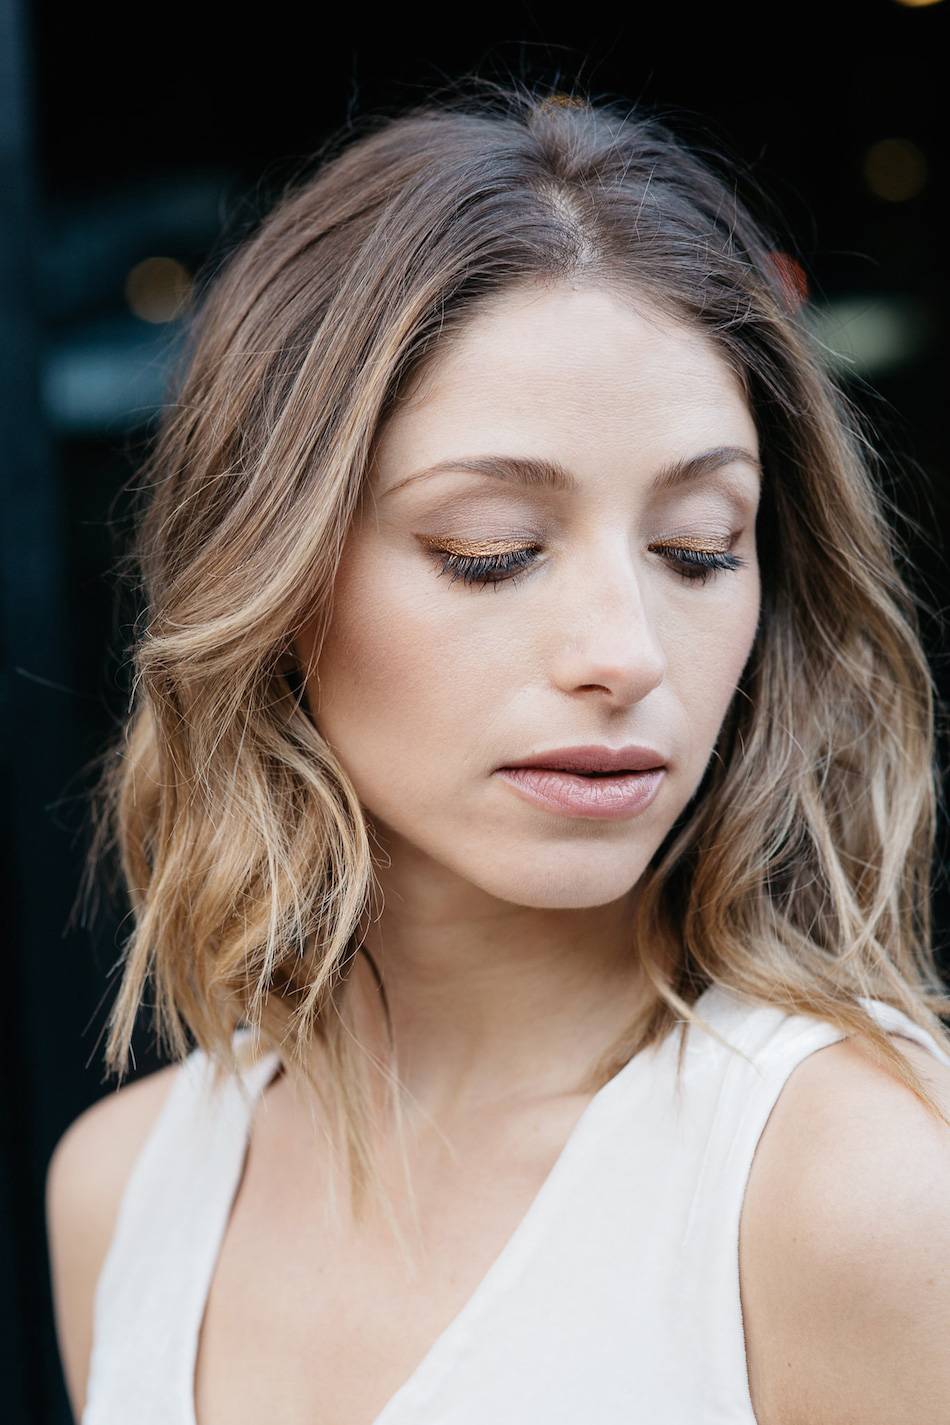
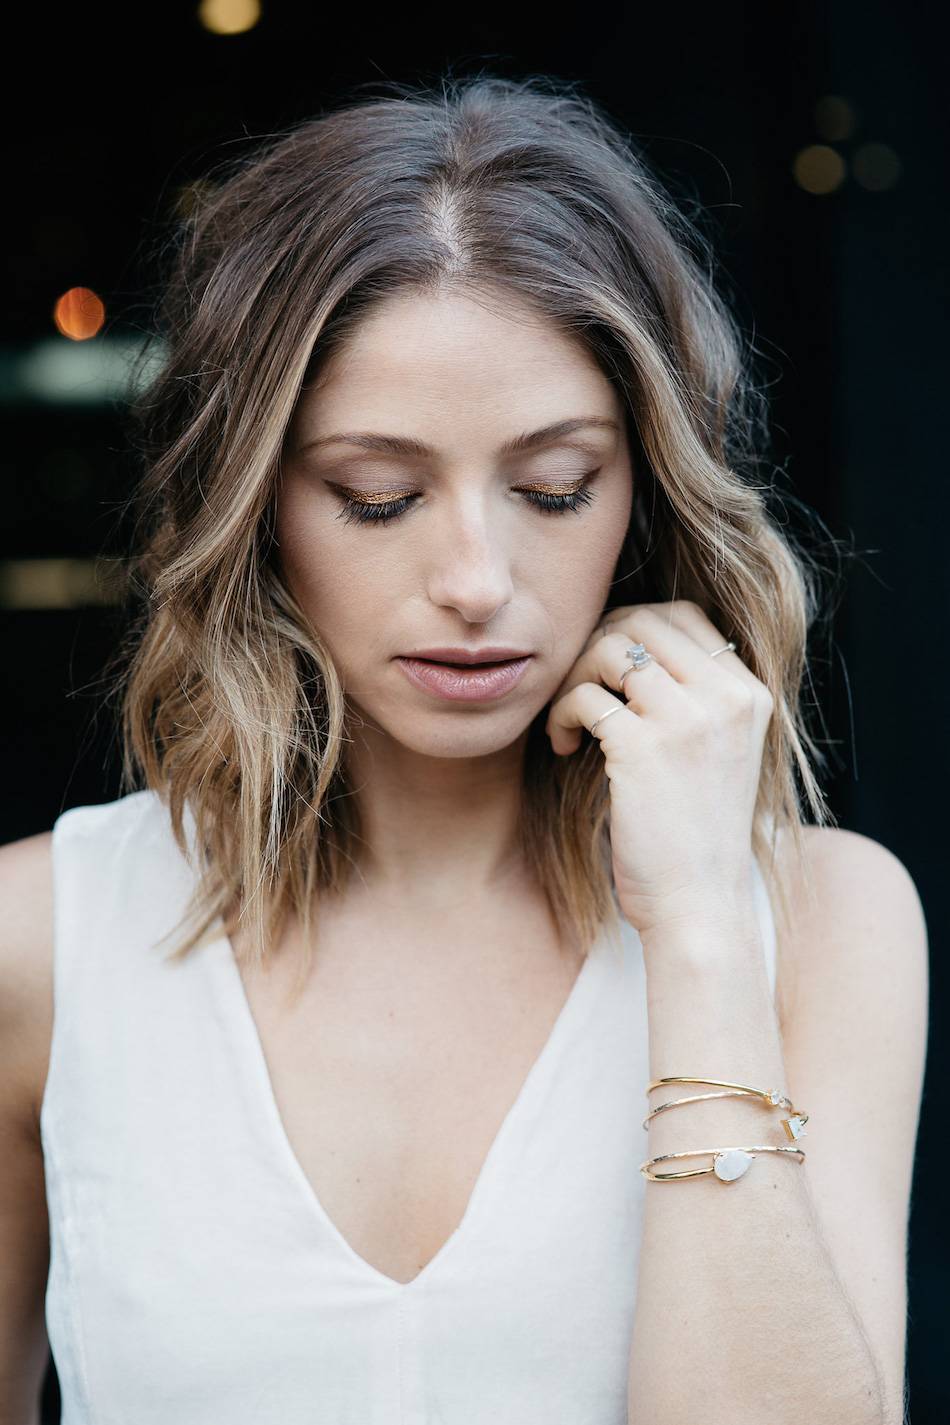
Here is the final look (and one of my personal favourites) in my holiday makeup series (look one + two). As someone with a very natural everyday look, I wasn’t sure what direction we would go in for the last look (a bronze cat eye?), but I LOVED it. It’s such a simple, cool + different look and Katie never overdid it… plus, it’s the perfect makeup for New Year’s eve. A cat eye flick of bronze eyeliner and Leah’s jewels are all the sparkle I need!
Katie has broken down the tutorial for you below:
I am a tad obsessed with all things gold and bronze, especially when it comes to eye makeup. Since I am also a fan of a clean look and a simple cat-eye, I thought it would be fun to test out a new eyeliner I picked up and create this bronzed eyeliner look.
3 tips for the perfect cat eye:
1. Find your shape. With the eyes open, map out with a bit of shadow where your wing will be. Not every eye shape is the same and some eyes are easier to do this look than others. Generally you want the “wing” to point towards the end of your eyebrow.
2. Use the right products. When doing eyeliner, make sure to use a product that applies smoothly. There is nothing worse than trying to get a straight line while dragging your liner along your eyelid.
3. Clean up. No one, not even makeup artists, will get the perfect flick every time. Luckily there are pointed q-tips and makeup remover. Very lightly clean up the edge of your wing for a more defined line.
What I Used For This Look
Eyes:
This eye look is so simple, 4 products and you are done. To start I used Laura Mercier’s Eye Basics in “Wheat” all over the lid. Next I blended a taupe shade (MAC Omega) in the crease for a bit of definition. For the eyeliner I used Make Up For Ever’s Artist Liner “Metallic Bronze”. These eyeliners glide on so smooth and will last all day or through a night of dancing! Lastly curl your lashes and apply a few coats of mascara. Currently my go-to is Charlotte Tilbury’s Full Fat Lashes.
Face + Brows:
Pop on over to our Red Lip Tutorial to see a few of my favourite products I used for foundation, concealer & brows.
Lips:
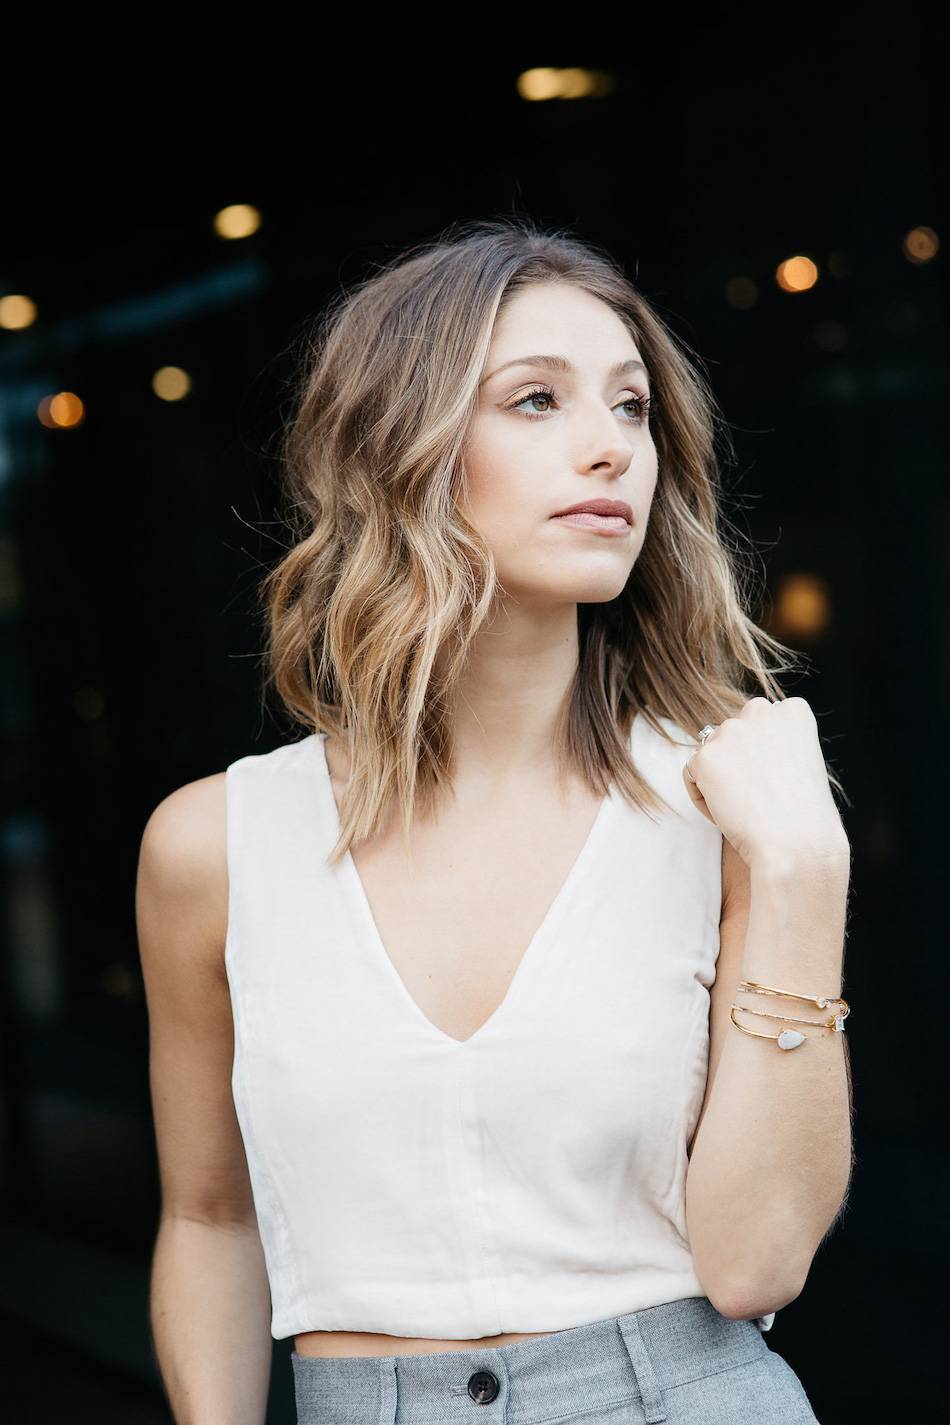
I skipped the liner and lightly brushed on a pink/nude toned lipstick for a bit of colour on the lips. Lately I have really been into the MAC lipstick in “Faux”, which is the shade I used here.
Add some sparkle! (Optional)
After completing your eyeliner, take a bit of lash glue on the end of a makeup brush and lightly brush along your liner. Next with a dry angle brush dab on your choice of glitter on top of the glue. My favourite glitters are MAC sparkling chunky gold and Make Up For Ever N1 Gold Glitter. Just make sure you check your glitter first to see if it is safe for use around the eye.
What do you guys think of the look? Which one was your favourite?
outfit details | Leah Alexandra jewelry | makeup by Katie Elwood
photography by Britney Gill
Great tips!!
Blonde in Cashmere
Author
thanks 🙂